Ship Phase: Auto Shipment
Introduction
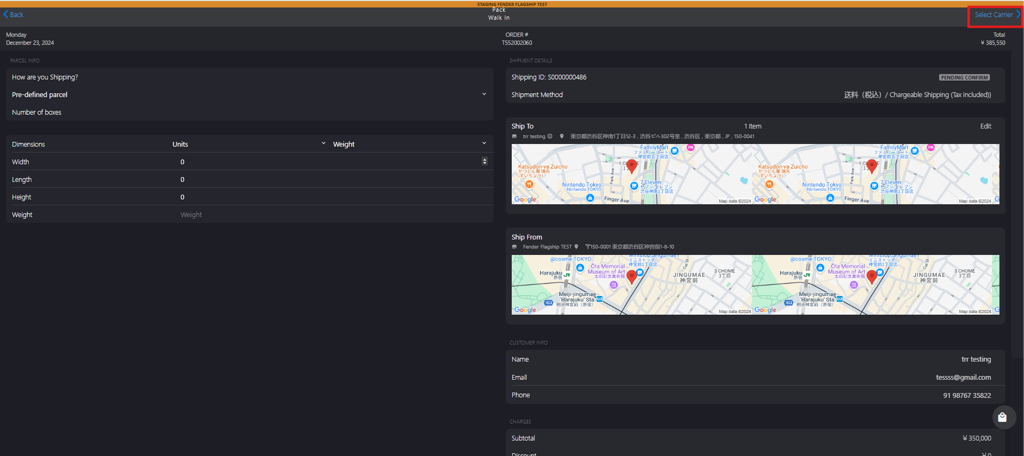
This topic explains the auto shipment process, where the carrier service for the packed product is selected from the SELECT CARRIER section. After initiating the shipping process, a shipping label is generated automatically.
Steps to Ship the Order
-
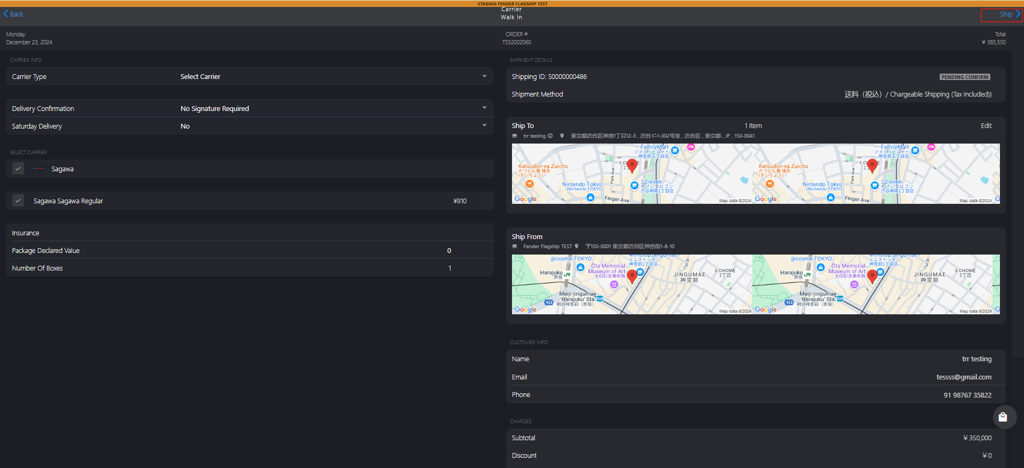
Click Select Carrier to efficiently deliver the packed item.
-
Select the following options in CARRIER INFO section:
-
Select one of the following options in Delivery Confirmation:
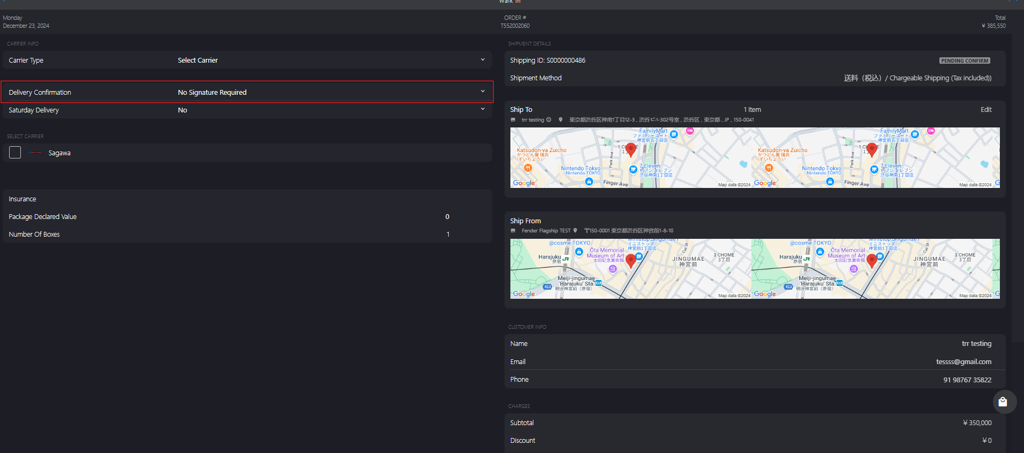
- No Signature Required
- Signature Required
- Adult Signature Required
-
Select one of the following option in Saturday Delivery:
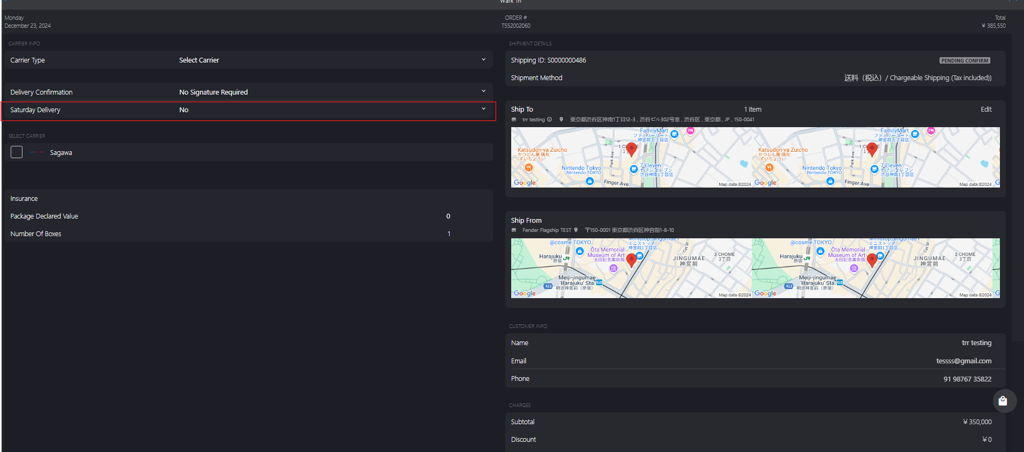
- Yes
- No
-
-
Select an appropriate carrier checkbox from the list in SELECT CARRIER section.

-
Select the estimated carrier price range checkbox, which is determined based on the delivery location.
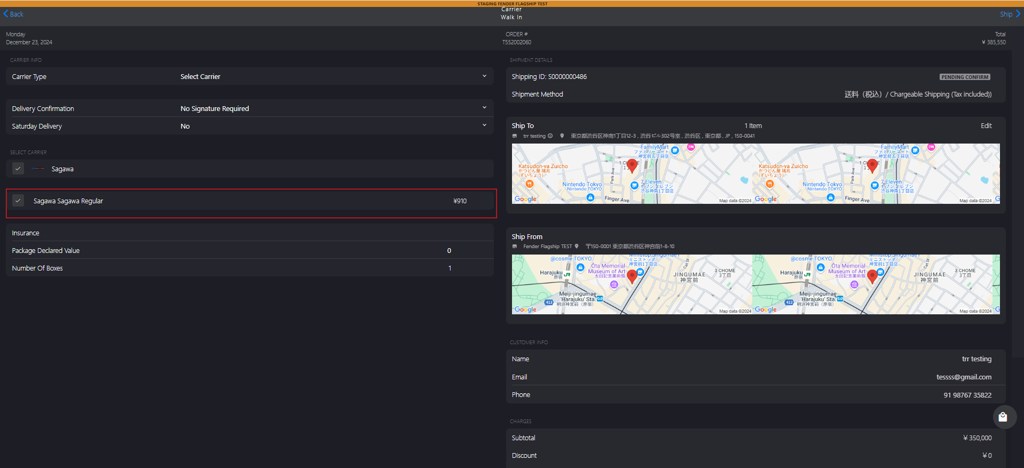
Note: The delivery price range checkbox will be displayed only after the selection of the courier service.
-
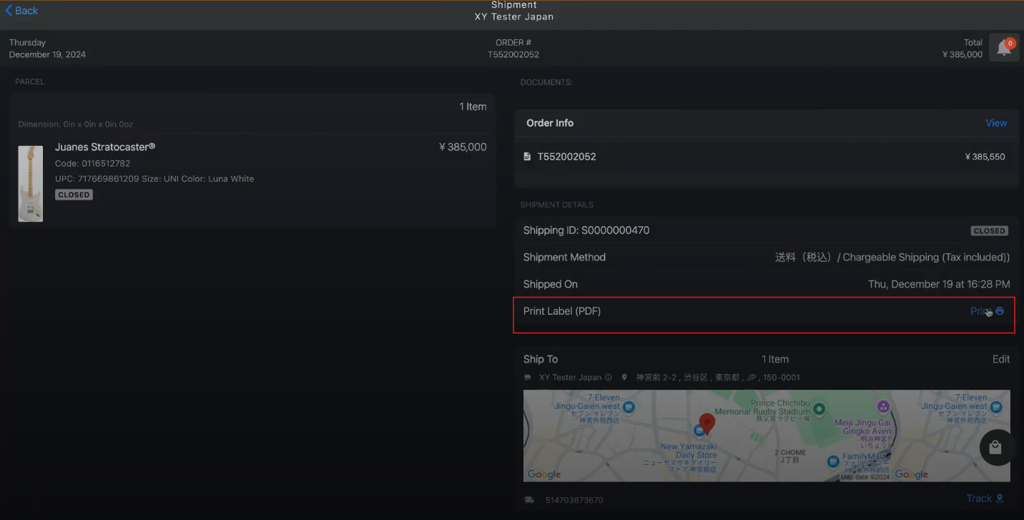
Click Ship to commence the shipping process and generate a shipping label.
-
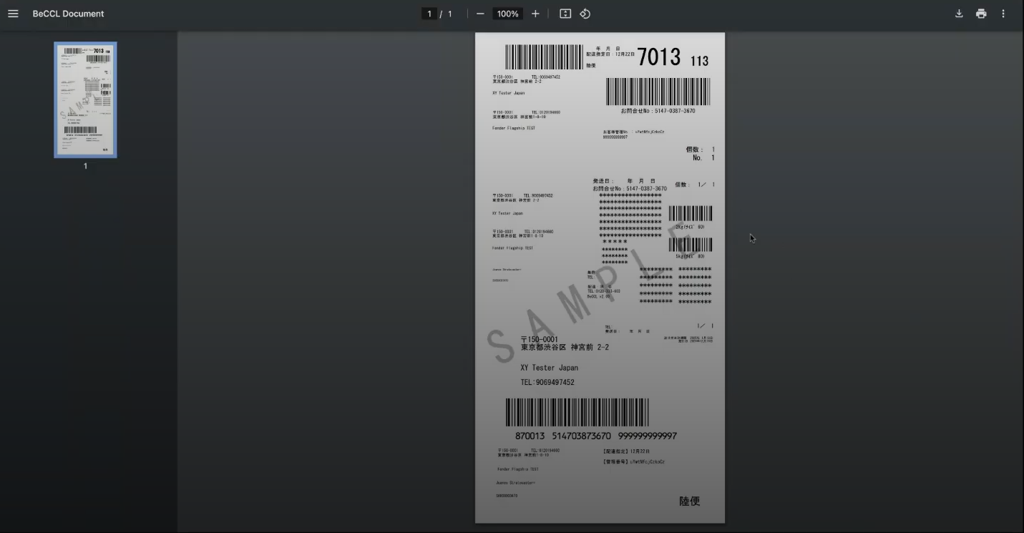
Click Print to generate the shipping label.
-
The shipping label is attached to the package, and then dispatched to the designated delivery location.